
July 8, 2026
How to Install Gland Packing Correctly: A Step-by-Step Guide
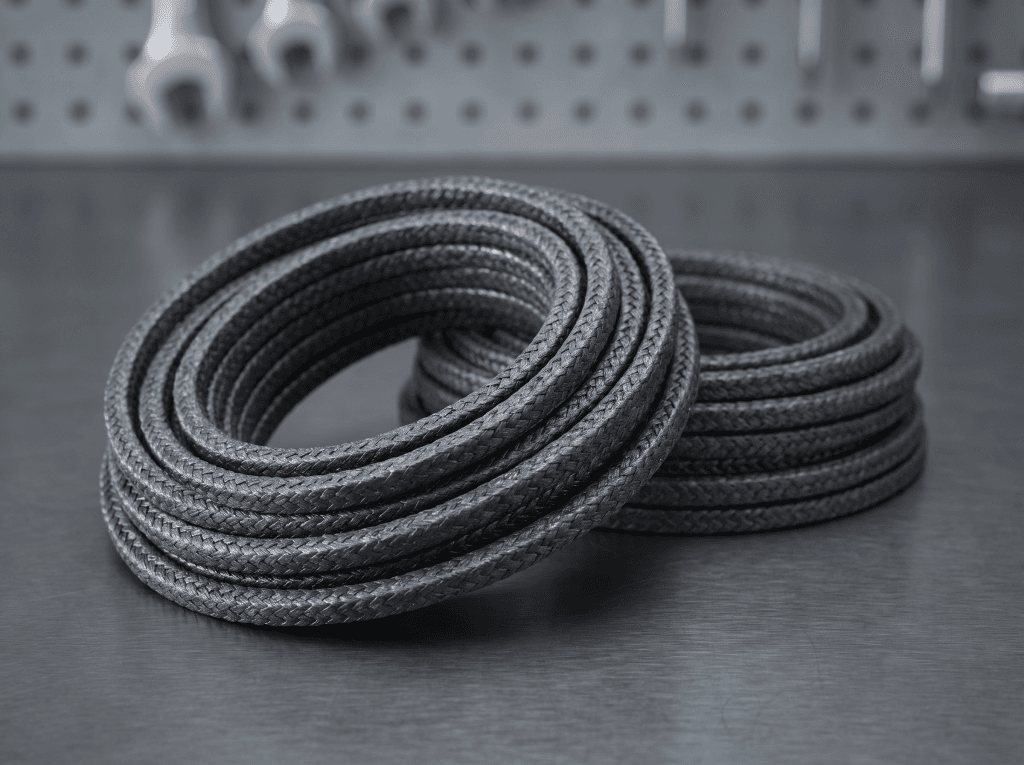
A surprising number of gland packing complaints we hear aren’t material problems at all — they’re installation errors. Rings cut to the wrong length, joints stacked instead of staggered, or a gland follower tightened unevenly will make even the correct packing grade leak or wear prematurely. This is the sequence that avoids those mistakes.
Step 1: Measure before you cut anything
Record the shaft diameter and stuffing-box bore diameter accurately — the difference between the two, divided by two, gives you the packing cross-section you need. Cutting rings for the wrong cross-section is the single most common installation mistake, and it’s invisible until the seal starts leaking.
Step 2: Remove the old packing completely
Clear out every trace of the old packing and any hardened residue from the stuffing box, and inspect the shaft sleeve for scoring. Fitting new packing over old debris — or over a scored sleeve — guarantees a short service life regardless of how good the new material is.
Step 3: Cut rings to the correct length, not by eye
Wrap a piece of packing around a mandrel or the shaft itself to get an exact circumference measurement, then cut each ring with a sharp blade at a clean 90-degree or 45-degree angle — a ragged cut leaves a gap that becomes the leak path. For Graphite Gland Packing and other braided grades, cut a few extra rings; consistency matters more than saving material.
Step 4: Stagger every joint
Install each ring with its cut joint rotated 90° to 120° from the ring before it. Stacking joints in the same position creates a straight-line leak path directly through the stuffing box — this single detail causes more “mystery leaks” than any other installation error.
Step 5: Seat each ring individually
Push each ring fully home and lightly seat it with a packing tool before adding the next one. Don’t drop all the rings in loose and tighten the gland follower once at the end — that compresses the rings unevenly and leaves gaps between them.
Step 6: Tighten evenly, then back off
Tighten the gland follower evenly (alternating bolts, a little at a time, like tightening a wheel), just enough to stop major leakage — not fully tight. Run the equipment briefly, allow a small amount of leakage (this is normal and expected for cooling and lubrication on most packing), then re-tighten gradually over the first hour of operation.
A pre-installation checklist
- Correct cross-section confirmed against shaft and bore measurements
- Old packing and residue fully removed, shaft sleeve inspected
- Rings cut cleanly to the correct circumference, not stretched or forced
- Joints staggered 90–120° apart, ring by ring
- Gland follower tightened evenly, with a break-in period allowed
Frequently asked questions
Is some leakage after installation normal? Yes — for most packing types a small, steady drip provides cooling and lubrication; zero leakage immediately after installation often means it’s over-tightened and will burn out prematurely.
How many rings does a typical stuffing box need? It varies by equipment design — check the manufacturer’s stuffing-box depth rather than assuming a standard count.
Can I reuse packing rings that were removed for inspection? No — once compressed and seated, packing rings should be replaced as a full set, not reused individually.
If a valve or pump keeps leaking after a re-pack, send us the shaft/bore measurements and how the rings were installed — often the fix is in the installation, not a different material.